
With the house mostly dried-in (there are still leaks that persist to this day) it was time to get going on rough-ins. The Turkel purchase order identified MEP (mechanical, electrical, & plumbing) as a potential consultant add-on, but not sure we found anyone that we thought could do a good design job across these three very different areas without adding a lot to the project cost. So after discussing with the construction manager we committed to a design-build approach, so the MEP subcontractors “designed” and built.
For electrical, an initial design decision that we made was how we wanted to handle lighting control, with the choice being between a central “brain” with loads all wired to that brain, I guess you would call that home run load wiring, with low voltage and/or wireless to keypads, vs a more distributed system with conventional high-voltage wiring and probably wireless for doing anything fancy with controls. Our prior home had a Vantage system with low-voltage wiring to keypads and it was a little buggy and I think at least two dimmer modules/power supplies failed and were expensive and time consuming to replace. Programming was also proprietary, they make it difficult or impossible for end users to make programming changes so you are handcuffed to a contractor if you want to do anything.
That said, I reached out to a local building systems design/integration/build shop to get a proposal for a lighting control system. I think I was probably also already thinking Lutron, so no surprise that their proposal was for a Lutron Homeworks QS system, $33k for lighting plan and system and nice keypads, with that cost not including line voltage wiring. Seemed like a lot of money for just lighting control for a 2500 square foot 3BR/2BA house, and same problem with Vantage with software only made available to integrators. My wife is also, very reasonably, big on technology layer going on top of conventional systems, rather than replacing, so if the technology fails you are still in business. So I planned to have the electrician do a normal rough-in and then use Lutron RadioRA2 switch gear/controls. At the time RA2 Select did not exist, so I did Lutron’s online training to get access to the programming software. During the build Lutron came out with RA2 Select, which for our application did everything I wanted the lighting system to be able to do (remote control, scenes, and schedules) with more simplicity (100 devices was not a limitation for us given home size), so the RadioRA2 training was a waste of time. I think I added up the cost of the RadioRA2 switches and hubs we would need and it was maybe $7k or so.
I do wonder if my cost evaluation of Homeworks was fair, I never asked the electrician if home run wiring of loads would be cheaper than conventional wiring. But if cheaper it is probably not a lot cheaper.
We planned to do mostly recessed (LED) lighting and I went a little nuts looking at all of the different options, easy to find fancy small apurture LED lights for $400+ per light. Glad we did not go down that expensive path, electrician recommended we use regular 4″ airtight housings/cans (I think they were Junos), lots of options for trims, with Par20 LED bulbs. Our last house had 6″ cans with Par30 bulbs, which is a little large/retro, the 4″ trims fit nicely with the modern aesthetic.

We were a little concerned about the coolness of LED lighting, but the electrician brought over some bulbs to show us options and we were happy with 2700K LED bulbs. He installed (dimmable) TCP 2700K Par20 LED bulbs throughout, 110% beam angle and estimated life of 25,000 hours. At this point (early 2022) we have been in the home over three years and we have not had a single bulb fail yet. We did have some problems with dimming/flickering in one of the bedrooms, electrician immediately knew it was a bulb/AHCI issue and changed bulbs out for a different brand, problem solved.
Speaking of AHCI breakers, we lucked out and got our building permit right before code changed from only requiring AHCI breakers in bedrooms to pretty much all interior areas. AHCI breakers can be finicky, and they are a lot more expensive than regular circuit breakers.
The architect did quick electrical plans with minimal input from us (just go with recessed lighting everywhere) and these plans were used for permitting. Later I made my own lighting/switching layouts, and these were tweaked by walking around and discussing with the electrician.

We did stick with recessed lighting in almost all of the living areas, only exceptions to this being:
- Pendant for the dining room (Poulsen PH 5, in hindsight probably should have put two of these in, dining room table is 2.4 meters long)
- Surface mounted foyer light (purchased locally, 9′ ceiling height and didn’t want pendant hanging down)
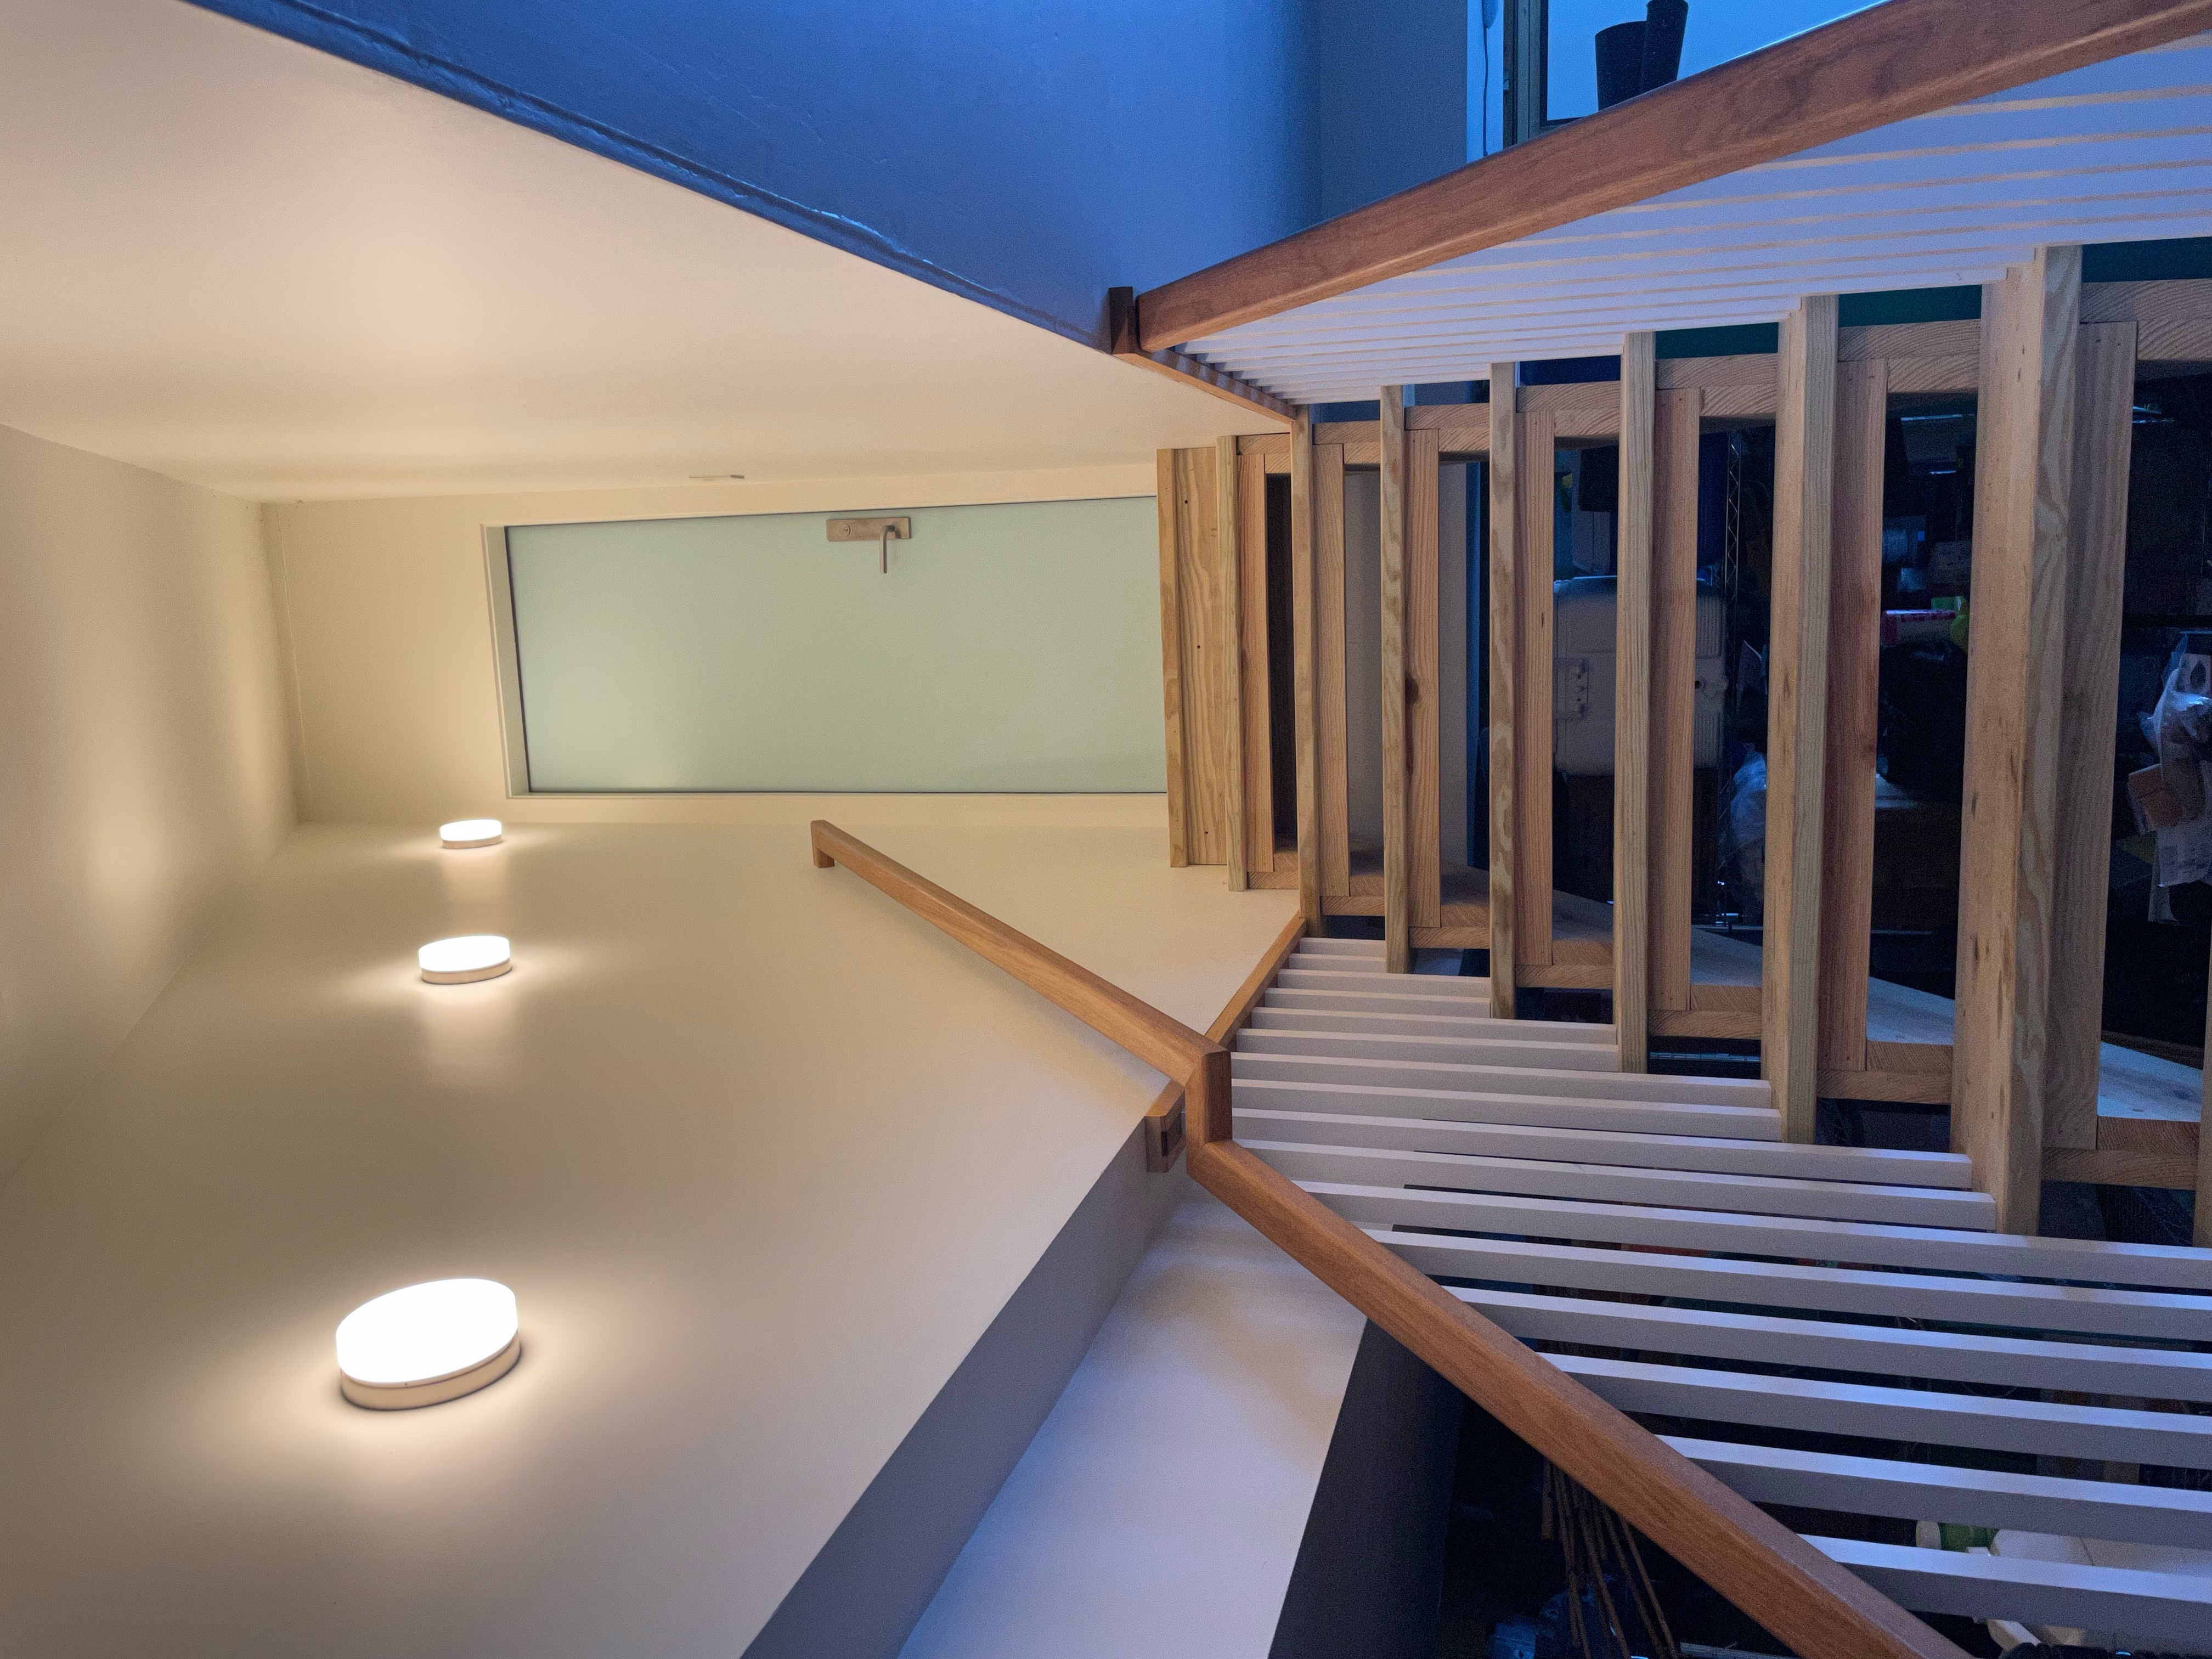
- Stair step lighting mounted low on stairs for safety/visibility (WAC WL-LED310)
- Surface mounted area lighting for enclosed stairs to lower garage/storage level (Tech Lighting Cirque, small size)
- Surface/ceiling mount lights in walk-in closets (WAC GLO LED, small size)


For electrical outlets I did a walk through with the electrician and we decided where to put electrical outlets. He raised the idea of putting them in the baseboards, but plan was for Fry Reglet trims to create a baseboard reveal (more on that elsewhere) and that would have complicated, so we just went with standard height outlets throughout, tops of the boxes are just under 16″ above the floor.
Additional electrical roughs included:
- Kitchen appliances, for that our kitchen design had already been completed and we had already picked out appliances (including induction cooktop, which required a 50amp 240 volt circuit), so we were able to pretty accurately place the wire roughs
- Gas fireplace
- Ceiling fan
- Smoke/CO detectors (bit of a sing and dance on these, local electrical inspector and security system installer both said Nest Protects did not meet code due to lack of wired interconnect, I had to get a letter from the State Building Inspector to get the local inspector to sign off)
- Bathroom exhaust fans (Panasonic)
- Bathroom mirrors/lights
- Washer/(gas) dryer
- Boiler and HVAC (for latter, heat pumps, a sub-panel for the condensers, plus wiring for air handlers and split units)
- Master bedroom whirl/air tub
- Doorbell (which I should have done, Ethernet more important than a few low voltage wires)
- Exterior floodlights (should have done more with exterior accent and yard lighting)
- Line voltage wiring to digital speaker locations
- 60 amp circuit to garage area for EV charging, plus an 8/3 to bring 30 amps into the mechanical room for a generator (or send 30 amps to something else in the garage area)
Service was 200 amp underground from pole to panel, some large loads in the home but hard to justify 400 amp service (and local utility might have pushed back).
Finally a word on lightning/surge protection. We skipped lightning rods, I don’t like the idea of “inviting” lightning to find ground through a wire in my house that is anything less than ginormous. But we did do some things to protect ourselves from power surges, installing a Type 1 device at the meter (a Leviton 50240-MSA, which can only clamp up to 50kA, so not going to stop a direct lightning hit, but 50 kA is something …) to deal with surges coming from outside the home, and at our main panel we have a Eaton Type 2 device at the main panel, I think idea of that is to deal with surges caused inside the home, and I suppose also anything that makes it past the Type 1 device. We have some Type 3 devices for computers via UPS devices and some power strips around, but with the whole home protection I passed on surge protection options provided by the HVAC subcontractor, etc.
