With the main steel beams in place the package was assembled. Beams, headers, rim joists, and joists (mix of Versa-Lams and Tri-Force trusses and Nordic I-joists) were largely maybe already cut to size, but I think there was some trimming, and lots of that for blocking.


Wall panels were documented in an elevation document that had dimensions to 1/16″. TekkHaus provided detailed placement plans and there was a 3D model of the entire home that could be rotated and sectioned to see exactly what went where (which did not keep some things from going in the wrong place initially, but was very useful for quality control and figuring things out). Wall sections used mostly standard structural lumber and sheathing was 1/2″ Zip System (5/8″ Zip System was used for roof surfaces). A few taller panels had to be redone and those came back with LVLs.
Exterior and most of the interior walls were on 2×6 plates. On the interior walls, we had 2×6 plates for wet walls and also walls where we wanted to have sound deadening (staggered 2×4 studs on 2×6 plates). 2×6 plates were also used on a few interior walls where we really didn’t need them, and we tore some of them out and replaced with 2×4 plates (for another 3″ of kitchen counter space, for example).


The main living area roof and the loft were supported by four 5 1/2″ x 18″ architectural glulam beams, two of which ended up being decorative due to the steel the structural engineer drew into the plans


In addition to the steel moment frames there were several shear walls. One of these ended up on the master bedroom side of a wall where I wanted to install in-wall speakers, so we ended up ripping that sheer wall out and putting it on the other side of the wall. So a recommendation, give some thought to the side of the wall you are nailing up the plywood for shear walls. There are some rules about the size of holes you can cut in shear walls (and the holes can’t be very big).

The Warmboard-S subfloor is a pretty cool product, and I will go into the radiant floor heating part of the project in more detail in a separate post, but there were a couple of things that could have been done better on the subfloor installation. First and mainly, it is critical that a 1/8″ gap be left between the ends of the panels. A number of our panels we installed tight to each other and while exposed to the weather for 2+ months got soaked and there was upward buckling at several joints, creating high spots that could be felt even after the flooring was installed. Second, make sure the panels are installed with the tubing runs perpendicular to the joists. The panels are beefy at 1 1/8″, but the tubing grooves are at least 1/2″ so you only have 5/8″ left below those. Thirdly, Warmboard provides a very nice set of detailed layout and installation drawings (sample here) with their product, which our assembly crew only loosely followed, resulting in some tubing “turns” being buried under floor plates (and so requiring additional router work for installation) and also creating some larger than desired gaps between tubing runs (I think the Warmboard people try to keep runs no further than 12″ apart).


Another thing to keep an eye on during package assembly, and it seems like this should go without saying, is making sure that framing and floors are square, level, and plumb. Perfection on this is not necessary or possible, but for new construction it is not unreasonable to expect things to be pretty close. Turkel asked that the foundation level not vary by more than 1/4″, which seems reasonable. Seems like 1/4″ in 10′ is generally accepted new construction maximum for a floor to be considered level. I picked up a Leica Disto 7500i to make site and foundation measurements (this model has a point finder camera feature that makes it easier to see the object you are “shooting” in daylight and/or over longer distances), and as things got going with the package assembly also picked up a Leica Lino L2G for level and plumb checks (and I also ended up using this a lot for installing things).
I did not need a laser level to see that we had a problem with a corner of the house sagging, see the photo below. Floor here is cantilevered over the foundation by a couple of feet, and seems to me the structural design was faulty here. The drawings called out a moment connection, but I don’t think a W (open) beam is much good in torsion. This photo was taken after the entire shell of the home had been assembled, so there was another story above this.

The fix to this was to jack that corner of the house up and weld a supporting bracket from the lower beam to the short beam supporting the cantilever. The issue with this, I think, was that this threw the floor level off for the floor above this floor, the guest bedroom ended up with almost an inch drop from a high spot near the corner of the house that was jacked up to the back of the room (room depth is about 17′), though it was also a little strange that the back of the room, which is cantilevered over the floor below by about 4′) fell off 1/4″ to 3/8″ in just 2-3′. When you stood on the subfloor there it felt like you were standing on a hill. This issue was not addressed or corrected during the package assembly, there was a suggestion that maybe we correct with self-leveling compound, but obviously that would have been problematic with radiant heat tubing and subfloor penetrations and gaps. We ended up doing a bunch of shimming when installing the flooring and also underneath a bathtub along the wall where the floor was low. The floor level issue also created a lot of extra work installing baseboard, more on that in another post, which was done with a Fry Reglet trim leaving a reveal below the drywall.

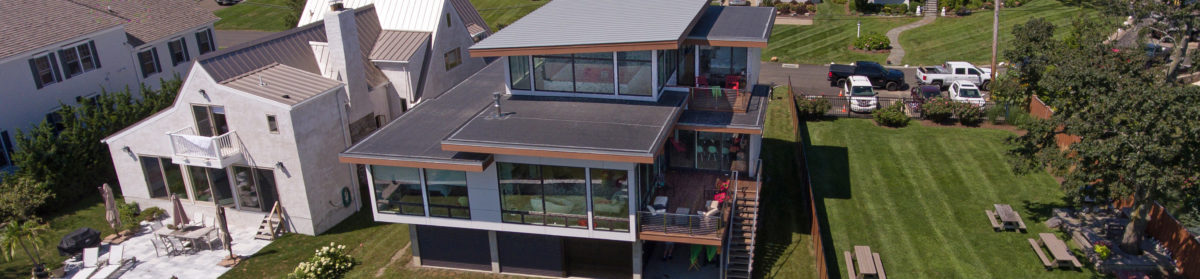
After the foundation was done I put a construction camera up on the top of the electric meter pole, a Brinno BCC100, which ran on batteries and took photos at a specified interval (I think I used 1 minute) and put them in a time lapse video clip, recording to a SD card that I would retrieve once a month or two. Once the walls went up it became a little hard to see what was going on, but the time lapse is kind of fun.